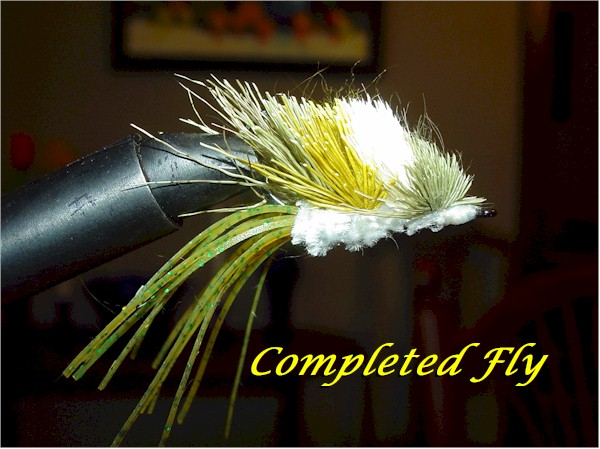
Fly Tying – Dusty Abney’s Upside Down Frog
Materials List
-Spinner bait skirt
-Grey chenille
-0.30 lead wire
-Deer body hair in green, yellow, and cream
-White 210 Thread
-Gamakatsu (HAI!) B10S hook in size 2
Tying Instructions
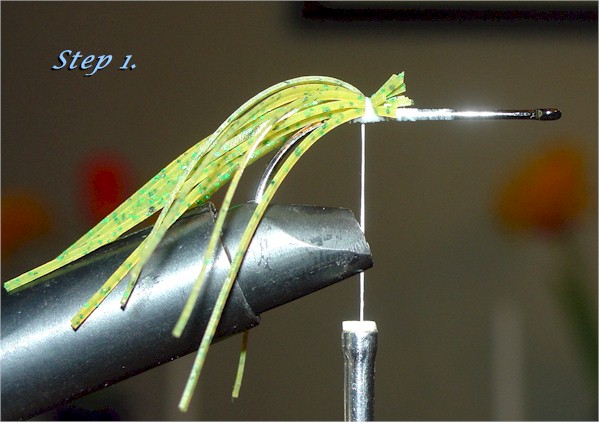
Secure the hook in the vise with the point down. Lay down a thread base to a bit behind the barb on the hookshank. Tie in a bundle of the skirt material in line with the hook point. The skirt should be just a bit longer than the hook itself. It’s very important that you tie in the skirt so that it lays above the hook as we currently have it in the vise. That way, when the frog is in the water, the weight of the skirt as it dangles in a most tantalizing manner will help it stay hook point up.
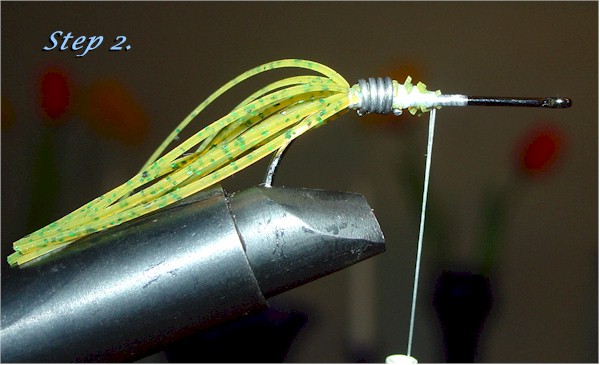
Wrap a length of the lead wire slightly shorter than the hook around the hookshank just in front of and around the skirt material.
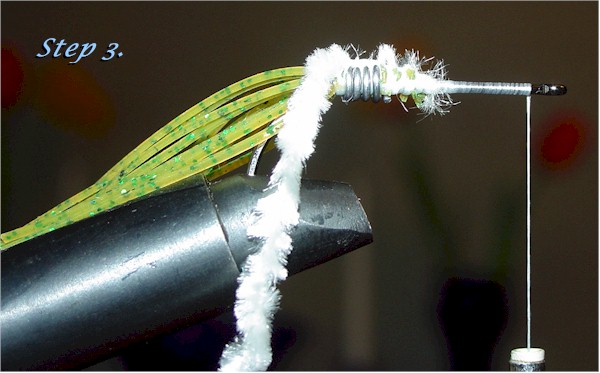
Tie in the chenille just in front of the lead wire and make a few thread wraps to secure the chenille on top of where the skirt is tied in at the back of the frog. Advance your thread to nearly the hook eye.
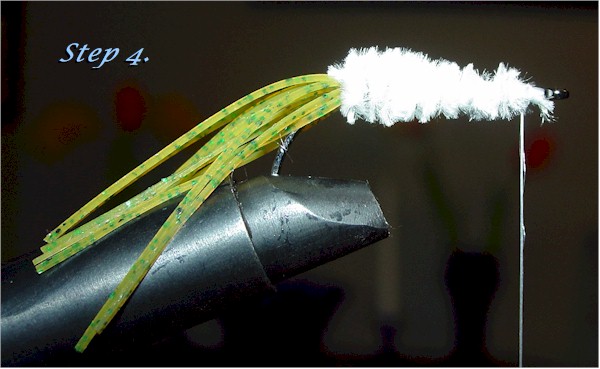
Tightly wrap the chenille forward and secure it just behind the hook eye, being careful to leave room for finishing the frog later.
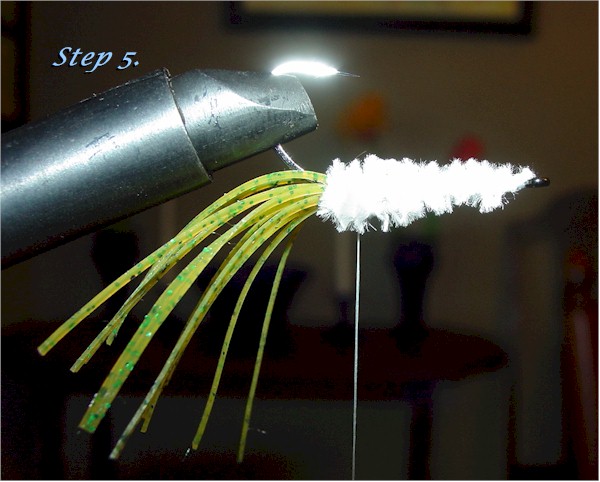
Rotate the frog in the vise so that the hook point is now on top of the shank. Take a few thread wraps towards the back of the hook so that your bobbin is opposite the hook shank.
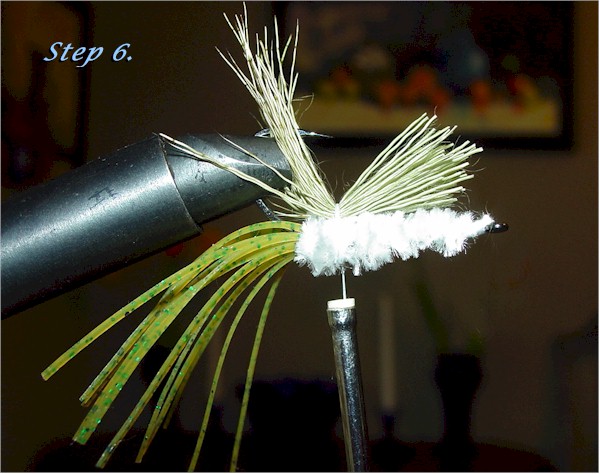
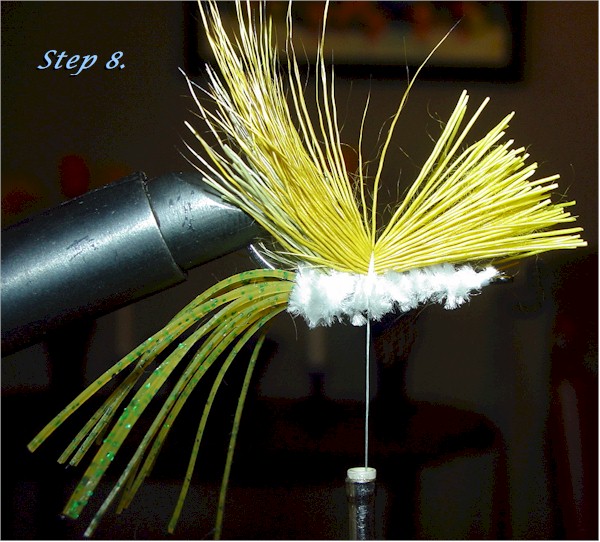
Get a bundle of the deer hair that is relatively small, about 1/3 of the diameter of a pencil is what I used here. Lay it on top of and parallel to the hook shank. Make three loose wraps of thread around the deer hair.
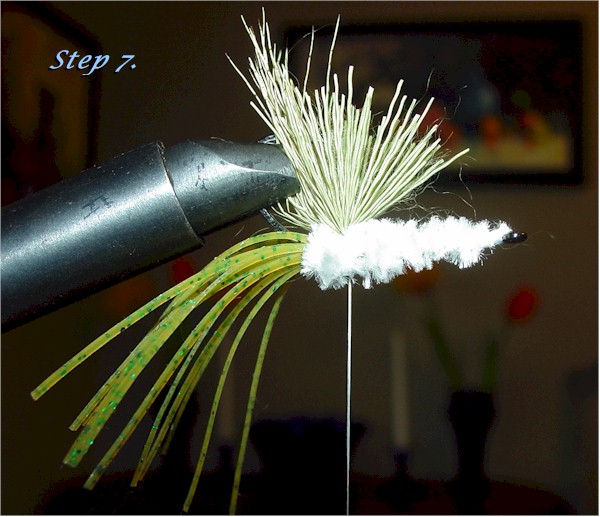 While holding the deer hair in place on top of the hook shank, carefully pull the thread tight to flare it. We’re not trying to spin it, but instead to stack it in place.
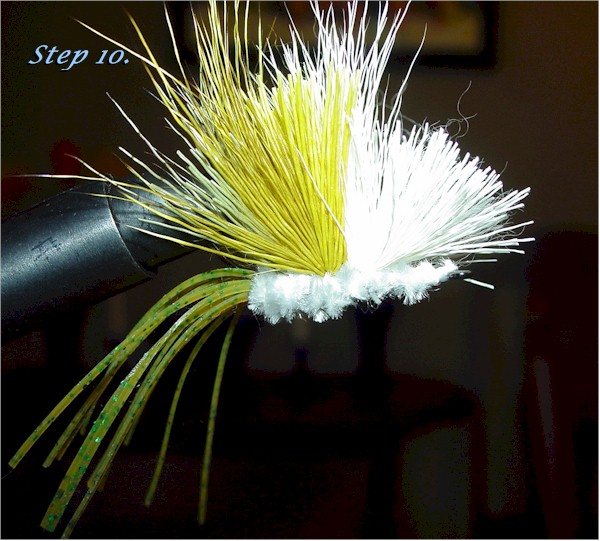
Advance the thread towards the hook eye a bit and tie in another bundle of deer hair of about the same size. Hold it in place and flare it just like the last.
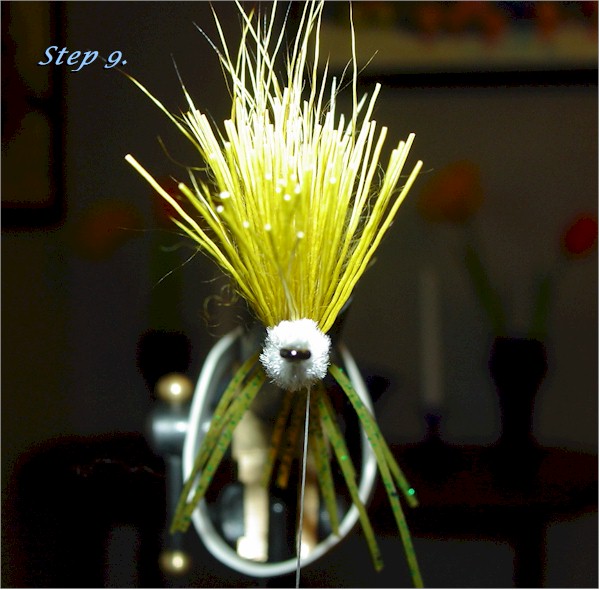
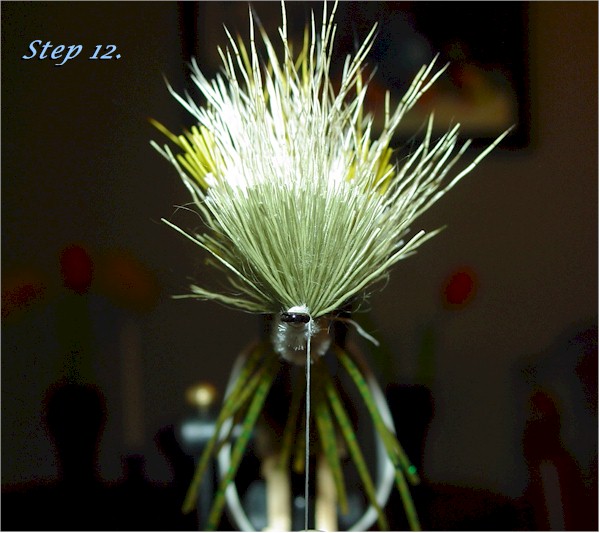
Here is a front view to illustrate how we want the deer hair to be on top of the hook shank.
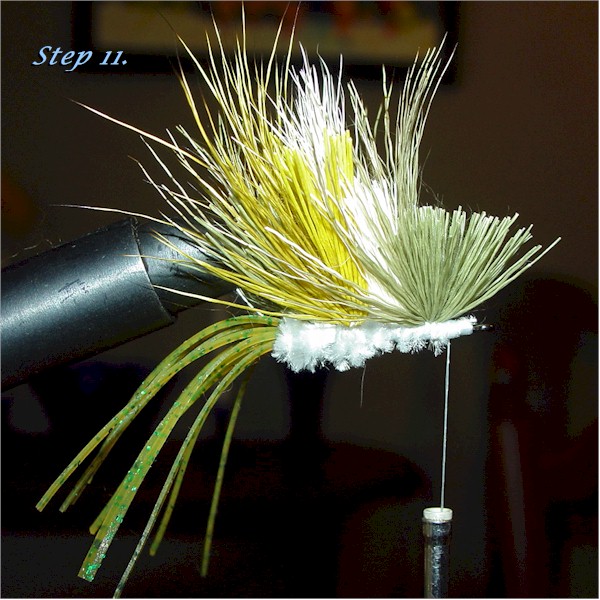
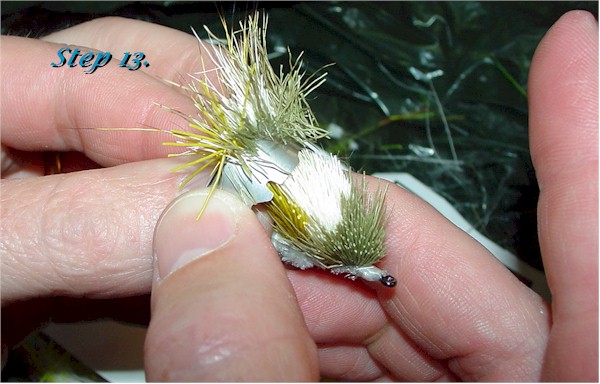
We’ve got room for two more bundles of deer hair. Make these a bit thicker than the last. About 2/3 of a pencil in thickness seems about right.
Wait. Where did the thread and bobbin go? I pulled a bit too hard flaring the deer hair and ended up breaking the thread. I don’t recommend following my tying that closely. Here we are. Back on track.
Here is another front view so you can see how the hook shank is well below where the deer hair starts. This will also help keep the hook point up.
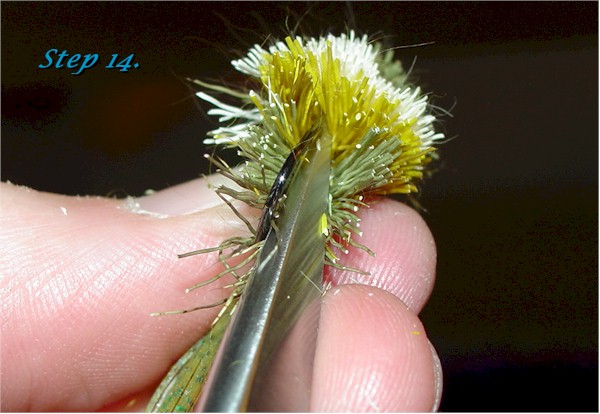
A few passes with the safety razor blade yields us this little jewel.
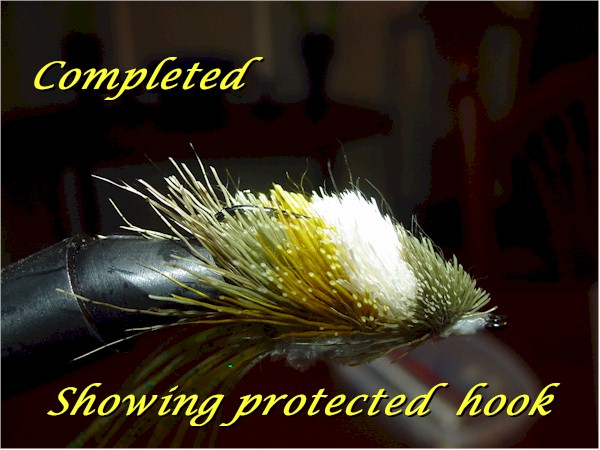
To finish the UDF, I like to carefully push the deer hair down with my finger in front of the hook to make sure that there is enough clearance for a good hook set. There was not in this case, so I did a bit of trimming in front of the hook point.
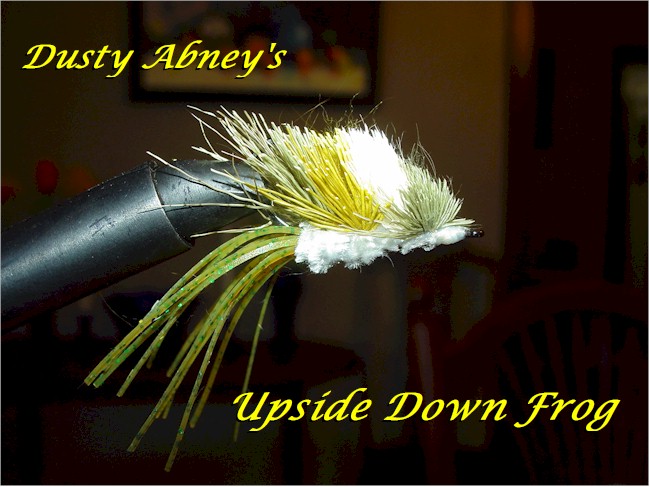
Here’s the finished product with a good view of that sharp hook hiding in the deer hair.
