![]()
Tying Steps
|
|
|
|
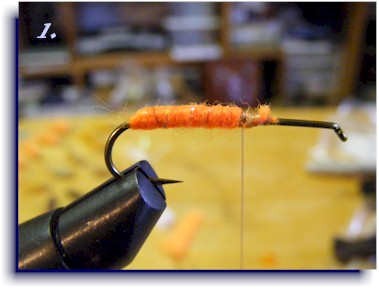
Wrap hook with thread glue, wrap Glo bug yarn to mid-point |
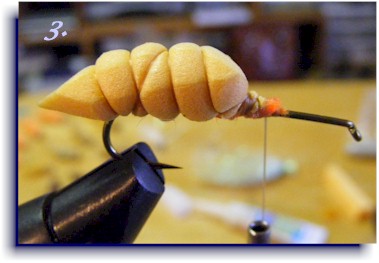
Carve bodies from foam with scissors to boat shape |
|
|
|
|
Soak yarn with super glue, press body down and X-tie down |
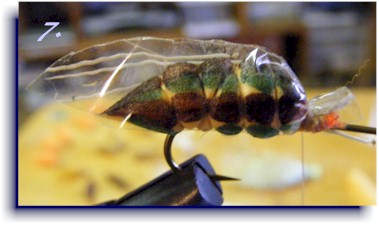
Using indelible markers, color body as shown |
|
|
|
|
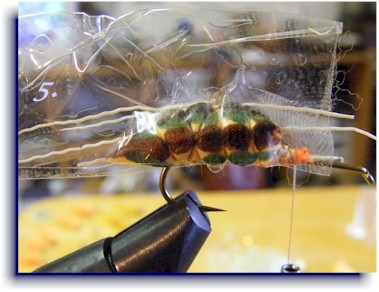
Next add the clear tape
wing. Take a piece of tape 4 inches |
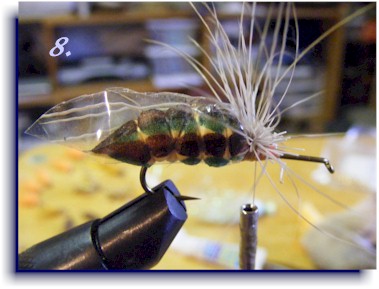
Trim wing to shape as shown |
|
|
|
|
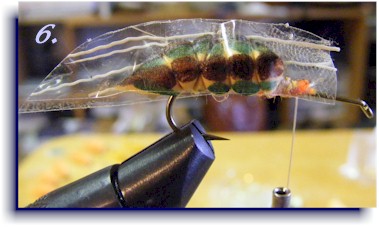
Tie down the wing in front |
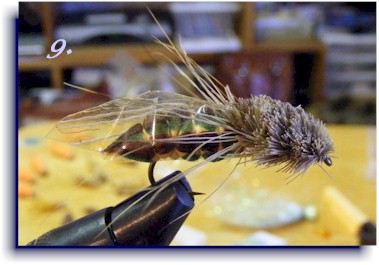
Spin deer hair to form head and front legs |
|
|
|
|
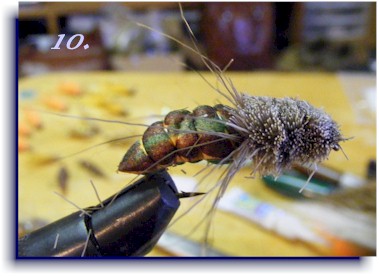
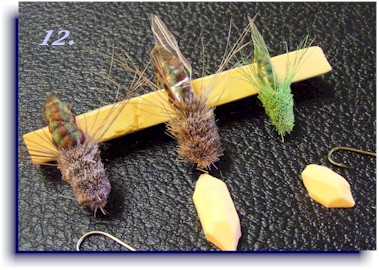
The completed fly with
clear tape wing. Cicadas have a |
Completed fly without clear tape wing |
|
|
|
|
The green cicada version |
Top view of all three patterns |
Presentation
The tape wings on my cicada may come apart after a few fish have eaten it. This causes the fly to spin when cast, twisting up the tippet. But when it hits the water the tippet unwinds and causes the fly to flip over and over - just like a struggling cicada. Whack! The best presentation is to plop the bug down loudly, then dead drift it. Don't set the hook too quickly when a fish rises. Let it take it down and then tighten up. It's a lot like dry fly fishing for steelhead. Set too soon and you'll miss it.
Have fun tying my NZ Cicada and I hope it brings you as much luck as it has for me and my clients.
Louie the Fish
Writing | Slide Shows | Stock Photography | Fly Casting Lessons | Travel/Tackle Consulting | Angling Destinations - Clinics | Tackle and Techniques | What's Hot - Tackle to Fishing | Blanton's Original Flies | HOT Flies | Upcoming Articles | Previous Articles | Bulletin Board | Email |Back Home